Storage up to 24 Figures Per Tray Including:
- Hot-Wheels
- Matchbox
- AFX
- LEGO
- Playmobil
- Kubrick
- M.A.S.K
- and More!
Storage up to 12 Figures Per Tray Including:
- G.I. Joe
- Marvel
- Star Wars
- Go-Bots
- ReAction Figures
- DC Figures
- Captain Power
- and More!
Storage up to 8 Figures Per Tray Including:
- Marvel
- Star Wars
- The Walking Dead
- COPS
- Mighty Morphin Power Rangers
- Halo
- The Real Ghostbusters
- and More!
Storage up to 4 Figures Per Tray Including:
- He-Man and the Masters of the Universe
- Thundercats
- WWE and WWF
- Rambo
- TMNT
- Various NECA Lines
- She-Ra: Princess of Power
- and More!
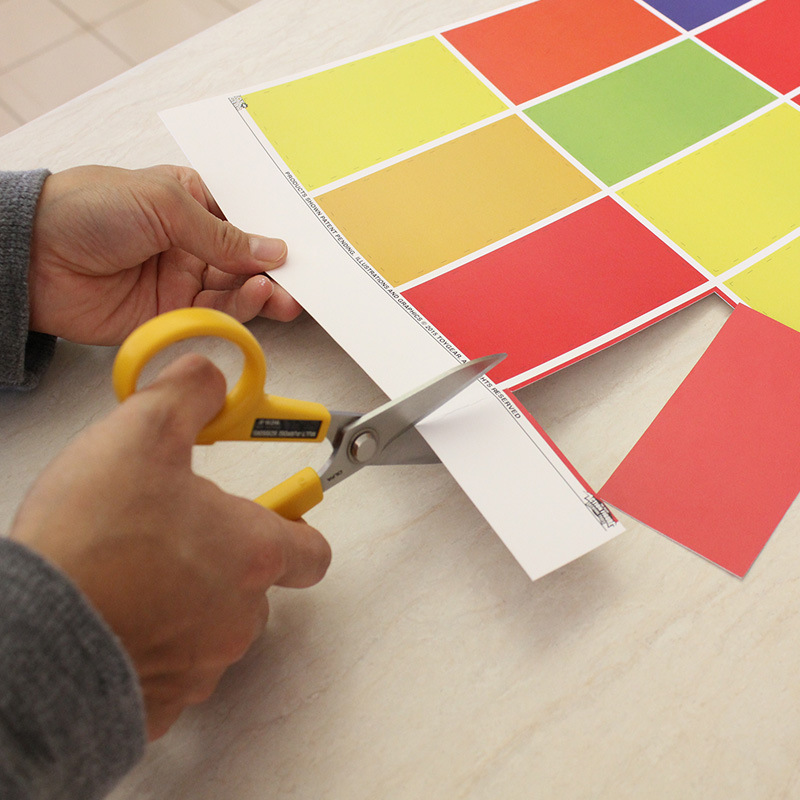
Trim along the dotted line for a nice snug fit. If you trim too much just trim again – remember too little is better then too much!
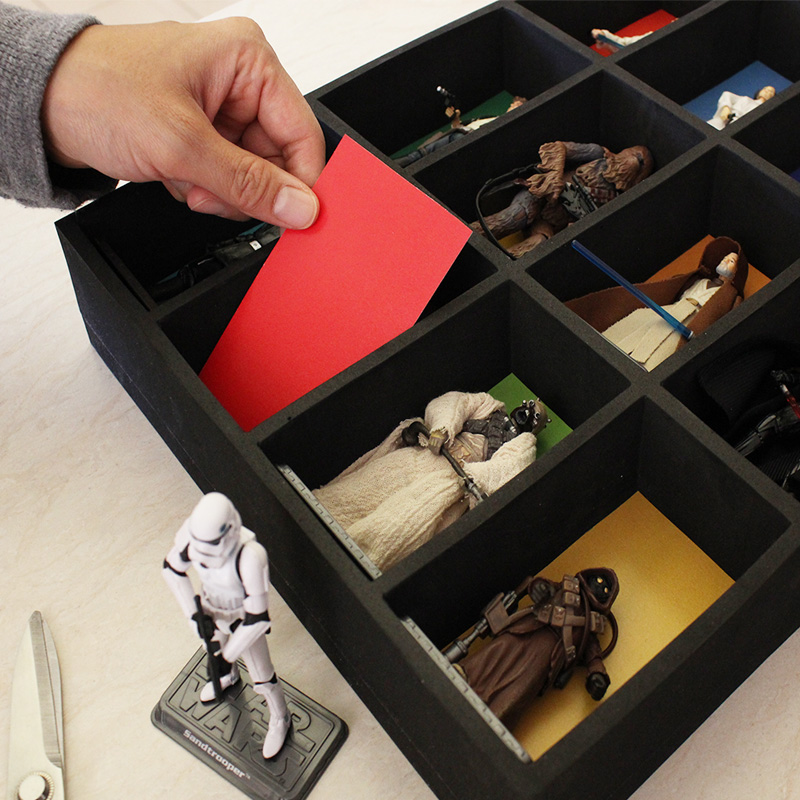
Position the Insert into one corner then press it down evenly as you go along the edges of the Insert. It should stay flush without any extra adhesive.
For mounting measure and line up on each of the 4 corners of the Tray.
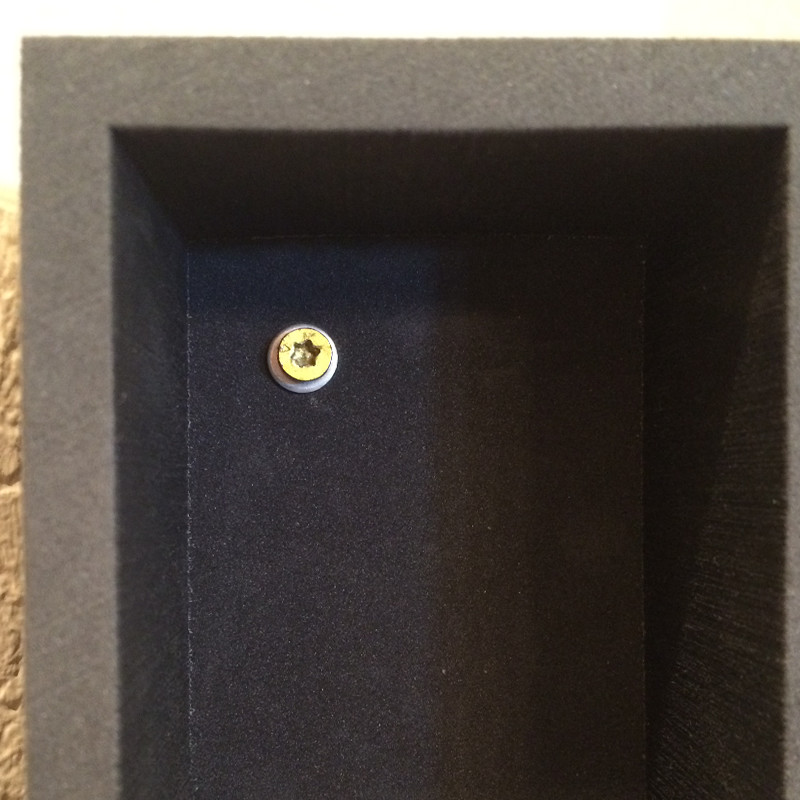
Make sure that if you screw your Trays to the wall, use a washer and the flattest head screw possible.
The inserts should successfully camouflage the screw mounts. Always position the Tray on the wall without figures.
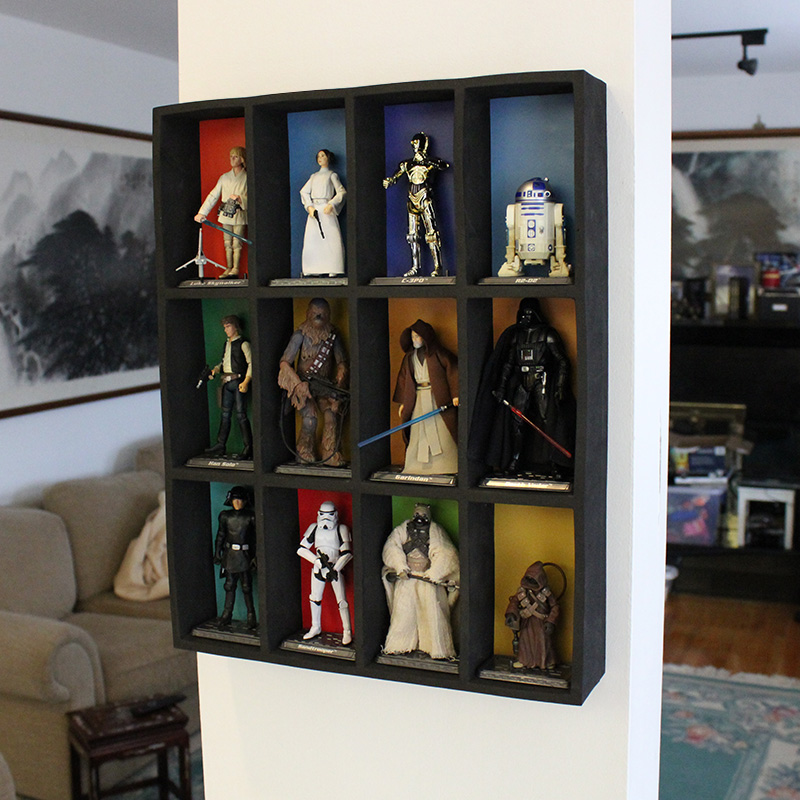
Once the Tray is secure and straight, place figures on figure stands (not included) and enjoy. Prior to removing the Tray, be sure to remove all figures first.
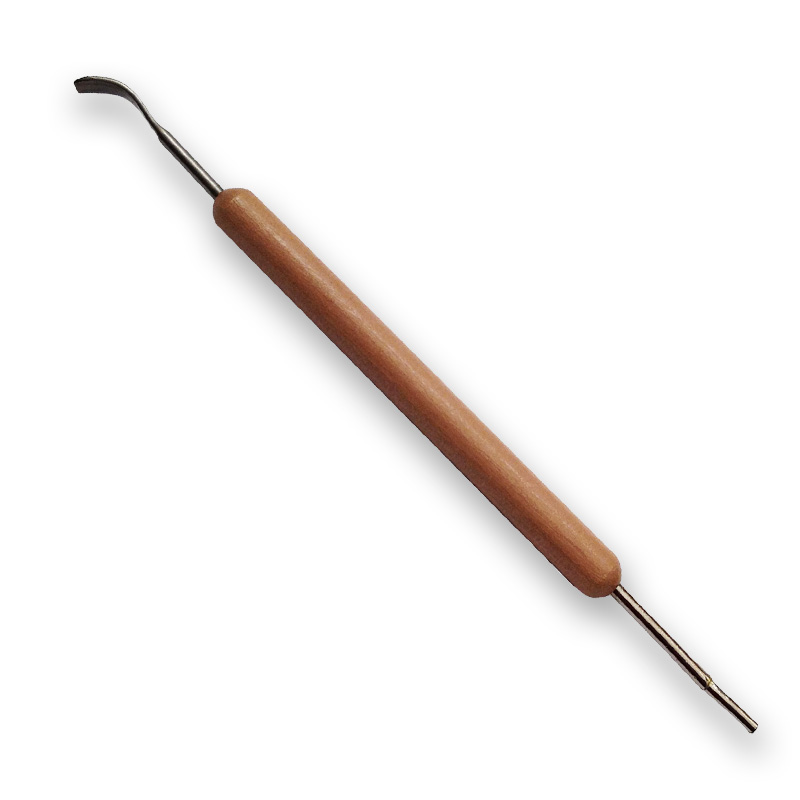
In order to make insert removal easier and to minimize damage to the inserts we recommend you use a tool similar to the one above. It’ll also assist well in laying the inserts flat into all 4 corners.
IMPORTANT DOCUMENTATION, PLEASE READ BEFORE USING YOUR TRAYS!
Care and Maintenance of your Trays:
- Avoid extreme temperature variations such as resting directly against a window pane.
- When dirty or dusty, wipe with a damp lint free cloth, soap is not required.
- Let Trays dry for up to 24 hours at 65 degrees and ensure they are dry before placing inserts and/or items.
- Do not overload Trays with too many objects, this may strain the compartments. If the Tray starts sagging be sure to remove items until it returns to its normal shape.
- If the Tray gets deformed remove all items and wait up to 24 hours for it to return to its normal shape. The more severe the deformation the longer it may take to return to its original shape.
- If using inserts, it is suggested to remove them prior to using Trays for long term storage.
General Tips for Tray Display & Storage Options:
- Ideally, it’s recommended to display figures on action figure stands for the best combination of balance and safety.
- Use a regular book shelf or an IKEA Detolf® to really show off your Trays and Action Figures.
- It is not recommended to stack Trays vertically in Display Mode without some additional support.
- Avoid direct sunlight and florescent lights – these sources may cause color fading to your Figures.
- In Storage mode, you can safely stack 4-6 Trays fully loaded on a shelf. A Banker’s/Office Box(15x12x10) will hold 4 Trays perfectly.
General Tips for Overall Tray Usage:
- Please use a common sense approach to handling the trays with your valuable figures.
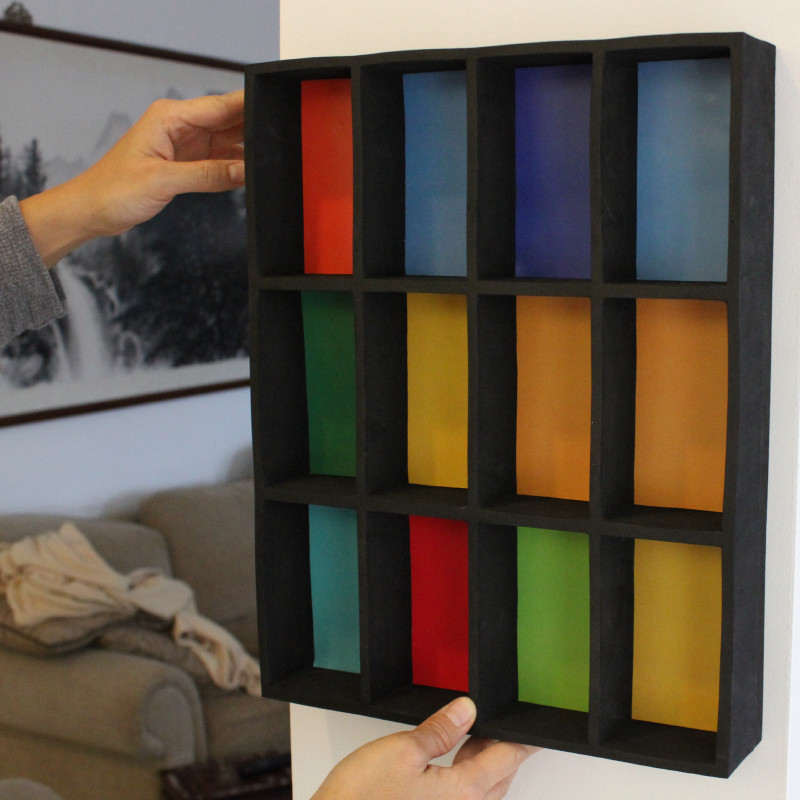
- If in a vertical Display Mode you are holding and moving a fully loaded Tray, always hold the Tray at an angle with your thumb resting on a support wall, ensuring a good grip, to make sure figures do not fall out. In all other cases, a fully loaded Tray should be held with two hands supporting each side, similar to a pizza box
- Make sure the surface you are mounting the trays on is prepped properly and is flat.
- It is suggested to mount the Tray at 4 points for maximum stability.
- Before inserting figures into the trays make sure the installation method used to mount the trays is secure, use action figure stands when possible or lean figures against the back compartment wallto prevent figures falling forward.
- Do NOT have more than one item per compartment if the Tray is mounted to the wall.
- Do NOT try to mount the trays with items already inside, mount first, then place items inside.
- When removing Trays from the wall surface, please remove all items first.
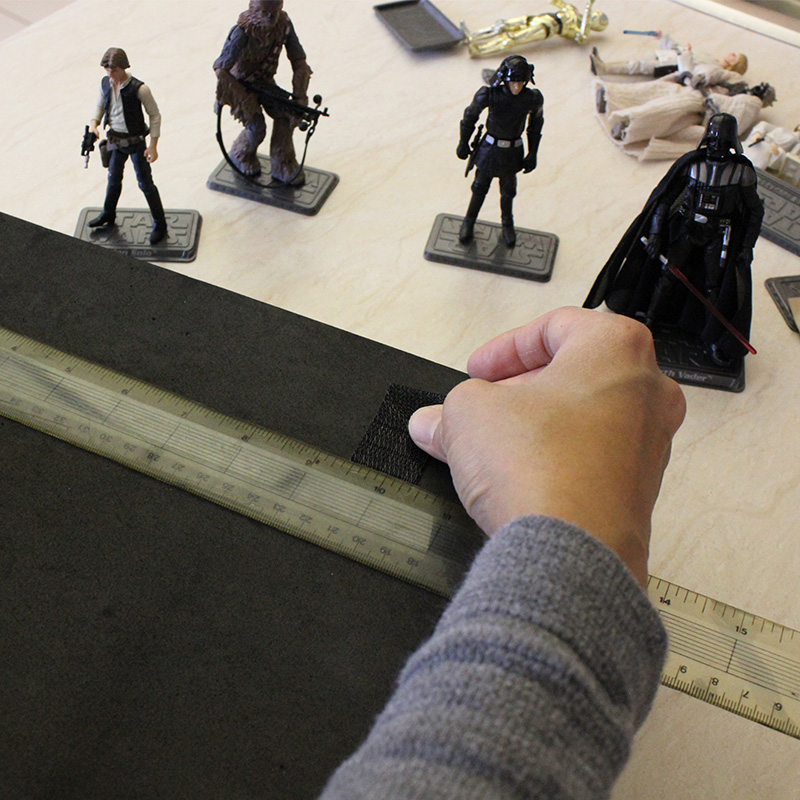
- If using an adhesive based mounting option (such as an industrial strength velcro) make sure the adhesive portion of the mount has fully cured and bonded with the Tray back, it should be semi permanent in its fixture. (Please note that only industrial types of adhesives will produce a suitable bond to the Tray’s XLPE material)
There is a PDF Version of this Document combined with the Mounting and Insert Diagram at the bottom of this page if for those of you that would prefer to print for easy reference.
BY USING OUR TRAYS YOU ACCEPT THE FOLLOWING DISCLAIMER:
In no event shall Toy-Gear be liable for any direct, indirect, punitive, incidental, or special consequential damages to property or life, whatsoever arising out of or connected with the use or misuse of our products.
How Sturdy are these Trays?
These trays are extremely sturdy and are specifically designed to hold and protect your action figures and other valuables. We spent a great deal of time testing various materials to ensure ideal compliance.
How do I Mount these Trays on the Wall?
We designed these trays to be wall mounted. We prefer a non-destructive removable mounting method but you can use high quality mounting magnets, screws with plastic anchors, or nails. The only additional step that we recommend when using screws or nails is to use a washer to protect the surface of the tray. We do not provide any mounting hardware but many options are found in nearly every retail store.
Will the Tray Compartments Sag over Time?
We have been testing our Action Figure Collector Trays for the last several months with a variety of modern and vintage G.I. Joe figures with and without stands and we have detected minimal sagging. We spent quite a bit of time weighing dozens of figures from various toy-lines to make sure our trays have the correct thickness to sustain the designated weight of the item being displayed or stored. If you have a specific figure that you are concerned about, please ask!
How do the Inserts Fit into the Trays?
We made these inserts to be a simple way to add a custom look to your tray. Just cut along the guide lines and place them into the tray compartment of your choice. Press down evenly to get them into the four corners of the compartment and your are set. These do not require any adhesive methods to stay in because they were designed to be friction fit to hold in place. This allows for easy removal and the option to use different inserts at any time.
What about Smaller Vehicles or Large Creature Trays?
We do have some ideas in the pipeline with regards to smaller vehicles and larger creatures. We’re still in the planning and testing stages so we can’t confirm or deny anything at this time. We can say though, that a Hutt, a Wampa, a tauntaun, and a certain vehicle/robot toy-line are definitely in our future…stay tuned!
List of brands supported used only as a guide and are subject to change.
All trademarks, service marks, trade names, product names and logos appearing on the site are the property of their respective owners, and do not imply an endorsement of any kind.